Wednesday, November 20, 2024
DIY Wooden Tiered Plant Stands with Unique Designs
Elevate Your Green Friends: DIY Wooden Tiered Plant Stands with Unique Designs
Hey there, fellow plant parents! Got a growing collection of leafy companions but feeling like your space is starting to look a little crowded? Don't worry, you don't have to sacrifice any of your beloved plants! It's time to get creative and craft some amazing DIY tiered plant stands that will not only add a touch of rustic charm to your home but also give your plants the room they deserve to thrive.
Building your own plant stand is a rewarding project that lets you unleash your inner artist. You can choose from classic designs or go all out with unique twists, adding a touch of your personality to your green oasis. The best part? It's a relatively affordable project that will give your home a major upgrade without breaking the bank.
Planning Your Plant Stand Paradise
Before you dive into the world of wood and screws, take a moment to brainstorm. Imagine the perfect plant stand for your space. Here are some key questions to consider:
Location, Location, Location
Where will your masterpiece reside? Consider the size of the space, the amount of natural light, and any existing furniture you want to complement.
The Right Size
How many plants do you envision showcasing? Will you need a compact two-tiered stand or a grand three-tiered masterpiece? Take measurements of your plants to ensure they'll have enough room to grow.
Style and Design
What kind of vibe are you going for? Rustic, modern, farmhouse, industrial? Consider the overall aesthetic of your home and choose a style that will seamlessly blend in.
Choosing the Right Wood
Now for the fun part: picking out your wood! The type of wood you choose will influence the look and feel of your plant stand. Here's a quick guide:
- Pine: Budget-friendly, lightweight, and easy to work with. It has a soft texture, making it a great choice for beginners. However, it can be prone to scratches and dents.
- Oak: Durable, beautiful, and can be stained or painted to achieve various finishes. It's a classic choice that adds a touch of elegance.
- Cedar: Naturally insect-resistant and fragrant, making it an excellent choice for outdoor stands. It's also known for its beautiful reddish-brown color.
- Reclaimed Wood: Adds a rustic and eco-friendly touch. You can find reclaimed wood at salvage yards, lumber mills, or even online.
Unique Design Ideas
Okay, now that you have your wood and a plan in mind, let's add some personality to your plant stand! Here are some design ideas to inspire your inner DIYer:
Geometric Shapes
Step away from the traditional rectangular tiers and create geometric shapes like hexagons, triangles, or even circles. This adds a modern and artistic touch to your stand.
Rustic Elegance
Embrace the beauty of imperfections! Use wood with knots and natural variations in color. Leave the bark on for a truly wild and natural look. Add some decorative elements like metal brackets or chains for a touch of rustic charm.
Colorful Accents
Who says plant stands have to be boring? Add pops of color with paint, stencils, or even colorful rope for a playful and cheerful vibe.
Industrial Chic
Combine wood with metal elements like pipes, gears, or even old hardware. This adds a raw and edgy feel, perfect for modern homes.
Sustainable Style
Think outside the box! Instead of using traditional wood, consider repurposing items like old ladders, crates, or even pallets to create unique and eco-friendly plant stands.
Essential Tools and Materials
Time to gather your gear! Here's a basic list of tools and materials you'll need for most plant stand projects:
- Wood: Choose the type and size based on your design.
- Saw: Circular saw, jigsaw, or handsaw for cutting wood.
- Screwdriver or Drill: For assembling the stand and attaching the tiers.
- Measuring Tape: For accurate measurements and marking.
- Wood Glue: For strong bonds between wood pieces.
- Screws: Choose appropriate size and length depending on your wood thickness.
- Sandpaper: For smoothing rough edges and preparing the wood for finishing.
- Paint or Stain (optional): For adding color and protection to your stand.
- Protective Finish (optional): Polyurethane, varnish, or wax to seal the wood and enhance durability.
Safety First
Remember, safety should always come first! Wear safety glasses, hearing protection, and gloves while working with power tools. Always work on a stable surface and be mindful of your surroundings.
Construction Tips
Now for the fun part â€" building! Here are some helpful tips to guide you:
- Start with a Plan: Create a detailed sketch of your design with accurate measurements.
- Measure Twice, Cut Once: Double-check your measurements before cutting. A small mistake can throw off the entire project.
- Sanding Is Key: Sand the wood thoroughly to create a smooth surface and prevent splinters.
- Pilot Holes: Always drill pilot holes before driving screws to prevent splitting the wood.
- Secure Connections: Use wood glue and screws for durable and long-lasting connections.
- Take Your Time: Don't rush the process. Carefully assemble each piece and check for stability as you go along.
Adding a Finishing Touch
Once your plant stand is built, it's time to personalize it! Here are some ideas to give it that extra flair:
- Paint It Up: Choose your favorite color or use a stencil to create a unique design.
- Stain for Elegance: Apply a wood stain to enhance the natural beauty of the wood and add warmth to your stand.
- Add Hardware: Incorporate metal brackets, chains, or hooks to add a decorative touch and extra functionality.
- Plant It Up!: Arrange your plants on the stand in a way that complements their shapes and sizes. Don't forget to let them shine!
Commonly Asked Questions
What If I'm Not Very Handy?
No worries! There are tons of beginner-friendly plant stand projects online. Start with a simple design, and don't be afraid to ask for help if needed.
How Do I Find The Right Wood?
Check your local home improvement stores, lumberyards, or even online marketplaces. Many offer a variety of wood options, so you can find the perfect fit for your project.
What's The Best Way To Protect My Plant Stand?
Applying a sealant like polyurethane, varnish, or wax can help protect your stand from moisture, scratches, and fading. Choose the finish based on the wood type and your desired look.
Can I Make My Plant Stand More Functional?
Absolutely! You can add hooks or shelves to store gardening tools, planters, or other accessories. Get creative and personalize your plant stand to meet your needs.
Building a DIY tiered plant stand is a fun and rewarding project that lets you showcase your green friends in style. So, gather your tools, unleash your creativity, and get ready to make your plant corner a true masterpiece! Happy building!
Tuesday, November 19, 2024
How to Make Wooden Bird Feeders with Weatherproof Features for Year-Round Use
How to Make Wooden Bird Feeders That'll Last All Year
Hey there, bird lovers! Want to attract a vibrant flock to your backyard, but tired of those flimsy plastic feeders that fall apart after a season? It's time to step up your game and build your very own wooden bird feeder. Not only are wooden feeders charming and rustic, but they're also built to withstand the elements, ensuring your feathered friends have a reliable source of food all year round. Let's dive into the world of DIY bird feeders, shall we?
Choosing the Right Wood
Before you start swinging that hammer, it's crucial to select the right wood for your feeder. You want something that's weather-resistant, durable, and won't rot or warp easily.
Top Choices for Weatherproof Wooden Bird Feeders:
- Cedar: Known for its natural oils that repel insects and decay, cedar is a fantastic choice for outdoor projects. Plus, it smells amazing!
- Redwood: Similar to cedar, redwood is naturally resistant to moisture and rot, making it a solid option for bird feeders.
- Pressure-Treated Pine: While not as naturally weather-resistant as cedar and redwood, pressure-treated pine is a budget-friendly option. Make sure it's labeled "ground contact" for maximum durability.
- Hardwoods like Oak or Maple: These hardwoods are strong and durable, but they require proper sealing to prevent moisture damage.
Planning Your Design: What Kind of Feeder Are You Making?
The sky's the limit when it comes to bird feeder designs. Consider what types of birds you want to attract and what kinds of seeds they prefer.
Popular Feeder Types:
- Hopper Feeders: These are classic feeders with a large compartment to hold seeds and a covered opening for birds to access. Hopper feeders are great for a variety of birds, including cardinals, chickadees, and finches.
- Platform Feeders: A simple platform with a raised rim provides a flat surface for birds to perch and feed. Platform feeders attract a diverse range of birds, especially ground-feeding species like doves, sparrows, and jays.
- Suet Feeders: Perfect for attracting woodpeckers and other insect-loving birds, suet feeders hold a high-energy block of fat that birds can peck at.
- Tube Feeders: These feeders feature a cylindrical tube with perches around the sides, often with multiple ports for birds to access seeds. Tube feeders are ideal for attracting smaller birds like finches and chickadees.
Gathering Your Materials and Tools
Once you've settled on a design, gather your materials and tools. You'll need a basic woodworking toolkit, including:
- Saw (circular, jigsaw, or handsaw)
- Drill
- Screwdriver
- Measuring tape
- Pencil
- Clamps
- Sandpaper
For the feeder itself, you'll need:
- Wood (depending on your design)
- Screws (various lengths)
- Hardware cloth (for protecting the feeder from squirrels)
- Bird feeder mesh (for holding seeds)
- Weatherproof sealant
- Paint or stain (optional)
Construction Time: Building Your Wooden Bird Feeder
Here's a step-by-step guide for building a basic hopper bird feeder:
- Cut the Wood: Using your saw, cut the wood to the desired dimensions based on your chosen design. The hopper needs a base, a top, sides, and a feeding tray.
- Assemble the Base: Attach the sides to the base with screws, creating a box-like structure. Use wood glue for extra strength. Make sure the bottom is flat and stable.
- Create the Feeding Tray: Cut a piece of wood to fit the opening of your hopper. This will act as the feeding tray. Attach it to the bottom of the opening, allowing birds to access seeds.
- Install the Top: Attach the top to the sides, creating a lid to protect the seeds from rain.
- Add Hardware Cloth: Cut a piece of hardware cloth slightly larger than the opening and attach it to the inside of the hopper. This will deter squirrels from raiding your feeder.
- Install Bird Feeder Mesh: If you prefer, you can line the feeding tray with bird feeder mesh to help prevent seeds from falling out too quickly.
- Create the Perches: Use dowel rods, branches, or small pieces of wood to create perches for the birds to land on. Attach them to the sides of the hopper. Make sure the perches are spaced appropriately for the types of birds you want to attract.
- Seal the Feeder: Once the feeder is assembled, apply a weatherproof sealant to all surfaces. This will protect the wood from moisture and prolong the life of your feeder.
- Paint or Stain: (Optional) You can paint or stain your feeder to enhance its appearance and match your backyard decor.
- Hang the Feeder: Choose a location that offers shelter from the elements and is visible to birds. Hang the feeder using a strong rope, wire, or hook.
Additional Tips for Weatherproof Wooden Bird Feeders
Here are some additional tips to help your feeder last longer and keep your feathered friends happy:
- Use a Heavy-Duty Roof: If your design includes a roof, consider using a durable material like copper, galvanized metal, or even shingles.
- Add Drainage Holes: Drill small holes in the bottom of the hopper to allow any excess water to drain out, preventing moisture buildup.
- Consider a Feeding Tray Shield: For hopper feeders, you can add a shield around the feeding tray to further protect seeds from the elements.
- Clean Regularly: Keep your feeder clean by regularly emptying it and scrubbing away any bird droppings or debris. This will help prevent the spread of diseases and keep your feeder looking its best.
- Choose a Location with Good Visibility: Place your feeder in an open area where birds can see it easily and avoid obstacles.
- Offer a Variety of Food: Birds have different preferences, so offer a variety of seeds, suet, and other treats to attract a diverse range of feathered friends.
- Enjoy Your Birdwatching!: Now, sit back, relax, and enjoy watching a flurry of birds visit your beautiful, handcrafted bird feeder.
Commonly Asked Questions
Let's tackle some questions that often pop up when building wooden bird feeders:
Can I Use Recycled Wood?
Absolutely! Just be sure it's clean, dry, and free of any chemicals or harmful substances that could harm the birds. Use wood from old pallets, furniture, or even salvaged lumber from construction sites.
Should I Use Bird Feeder Mesh or Hardware Cloth?
Hardware cloth is a stronger deterrent against squirrels, but it may also make it more difficult for smaller birds to access the seeds. Bird feeder mesh is more bird-friendly, but it may not be as effective against squirrels. You can use both to create a layered protection system!
How Often Should I Clean My Feeder?
Aim to clean your feeder at least once a month, especially during the spring and summer when birds are more active. You can clean it more often if needed. Use a mild soap and water solution, and avoid using harsh chemicals.
Ready to get started? Grab your tools, gather your materials, and let's create a beautiful and functional wooden bird feeder that will attract birds to your backyard for years to come. Happy building, and happy birding!
Monday, November 18, 2024
Easy DIY Wooden Nativity Scene for Christmas

Easy DIY Wooden Nativity Scene for Christmas
Bring the magic of Christmas into your home with a charming DIY wooden nativity scene. This simple project is perfect for all skill levels and can be customized to your liking. Gather your family and create a beautiful and meaningful centerpiece for your holiday decor.
Materials You'll Need
Before you embark on this festive crafting journey, gather the following materials:
- Wooden craft sticks
- Wooden dowels (various sizes)
- Cardboard or foam board
- Paint (acrylic or tempera)
- Paintbrushes
- Scissors
- Hot glue gun and glue sticks
- Optional: Googly eyes, glitter, fabric scraps
Step-by-Step Instructions
Follow these easy steps to build your own heartwarming nativity scene:
1. Create the Base
Start by crafting the base of your nativity scene. Cut a rectangle from cardboard or foam board, ensuring it's large enough to accommodate your figures. Paint the base a neutral color like brown or beige.
2. Construct the Figures
Let's bring the nativity figures to life! Use wooden craft sticks to create the figures. For Mary and Joseph, join two sticks together to form a standing figure. For the baby Jesus, use a single stick and attach a tiny wooden dowel for the crib. For the animals, use a variety of stick lengths and shapes to craft their bodies.
3. Paint the Figures
Once the figures are assembled, unleash your creativity and paint them. Use different shades of brown, beige, white, and black to create realistic figures. For added detail, use paint or fabric scraps to create simple clothes for Mary and Joseph. Add googly eyes to bring personality to the animals.
4. Arrange the Scene
Now comes the fun part! Arrange your figures on the base. Position Mary and Joseph near the center, with the baby Jesus in the crib. Add the animals around them, creating a cozy and welcoming scene.
5. Embellish and Display
To add a touch of magic, use glitter, fabric scraps, or other embellishments to decorate your nativity scene. You can also create a backdrop from cardboard or fabric to complete your masterpiece. Display your creation proudly in your home, and let its warmth and joy fill your Christmas season.
Tips for Success
Here are a few helpful tips to ensure a successful DIY nativity scene:
- Use different sizes of wooden craft sticks for variety.
- Consider adding details like hair, hats, or blankets to the figures.
- Let your creativity guide you when embellishing your scene.
- Enjoy the process and create a personalized nativity scene that reflects your style.
Crafting a wooden nativity scene is a wonderful way to celebrate the spirit of Christmas. It's an engaging activity for families, a meaningful keepsake for years to come, and a delightful addition to your holiday decor. So gather your materials, unleash your creativity, and create a cherished nativity scene that will bring joy to your home.
Wednesday, November 6, 2024
How to make a planter box with a built-in bench for outdoor spaces

Elevate your outdoor space with a DIY planter box bench, a charming and practical addition that combines functionality with aesthetic appeal. This project allows you to create a welcoming seating area while simultaneously adding vibrant greenery to your garden, patio, or balcony.

Materials You'll Need:
Lumber: Choose durable, weather-resistant wood like cedar, redwood, or pressure-treated pine. You'll need lumber for the bench frame, planter box sides, and bottom.
Fasteners: Use screws or nails suitable for outdoor use.
Waterproof sealant: Protect your wood from the elements with a sealant specifically designed for outdoor use.
Hardware: Depending on the design, you may need hinges, brackets, or other hardware for assembling the bench and planter.
Planter liner: Ensure proper drainage and protect your wood by using a landscape fabric or plastic liner for the planter box.
Soil and plants: Choose soil appropriate for your chosen plants and select species that thrive in your climate and sunlight conditions.
Steps to Building Your Planter Box Bench:
1. Design and Measure: Sketch a design, determining the dimensions of your bench and planter. Consider your space, desired seating height, and the size of the plants you plan to grow.
2. Cut and Assemble the Frame: Cut the lumber for the bench frame to your specifications, ensuring all pieces are square and level. Assemble the frame using screws or nails.
3. Construct the Planter Box: Cut lumber for the planter box sides and bottom, then assemble them into a rectangular shape.
4. Attach the Planter to the Frame: Secure the planter box to the bench frame, ensuring a snug fit.
5. Add a Liner: Line the planter box with landscape fabric or plastic to prevent soil from escaping and protect the wood.
6. Finish and Seal: Sand all surfaces smooth and apply a waterproof sealant to protect the wood from moisture and weathering.
7. Install the Bench and Plant: Find a sunny spot for your planter box bench and install it. Fill the planter with soil and your chosen plants.
Tips for Success:
Pre-drill holes: To prevent splitting, pre-drill holes for screws and nails before fastening.
Check for square: Ensure the bench frame and planter box are square and level throughout the construction process.
Consider drainage: Ensure the planter box has adequate drainage to prevent waterlogging.
Choose hardy plants: Select plants suitable for your location's climate and that can tolerate the conditions of the planter box.
Enjoy your new planter box bench, a charming addition to your outdoor space that brings together beauty and functionality. Remember to maintain the wood by applying a fresh coat of sealant every few years to keep your creation looking its best.
How to build a planter box with trellis for climbing vegetables
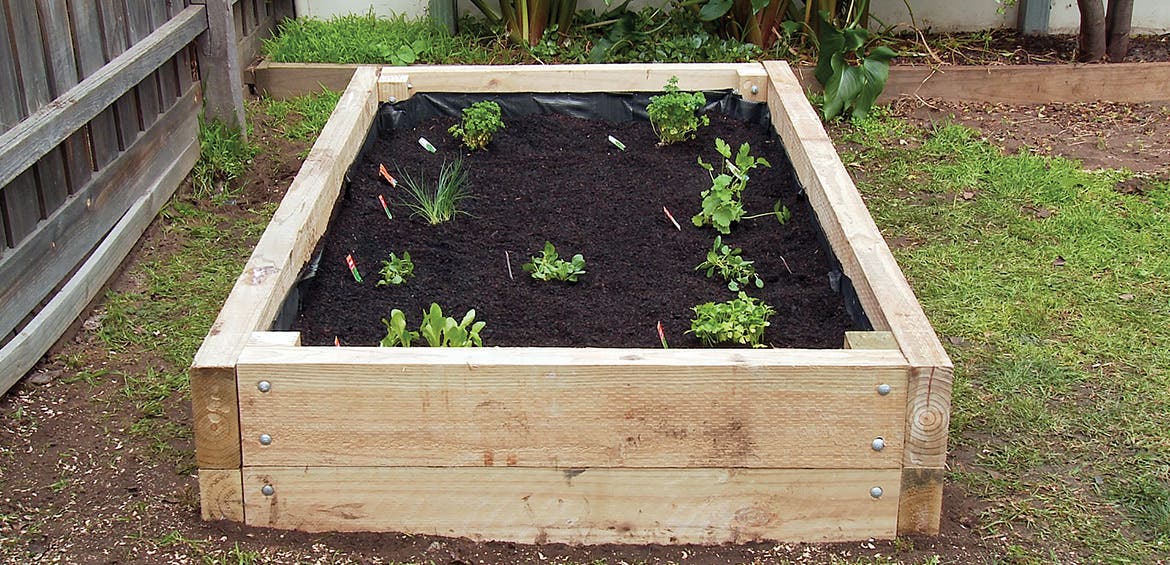

Vertical gardening is a space-saving solution for city dwellers and anyone with limited garden space. Building a planter box with a trellis provides the perfect vertical support for climbing vegetables like beans, cucumbers, peas, and tomatoes. Here's a simple guide to get you started:
Materials You'll Need:
Planter Box: Choose a material like cedar, redwood, or treated lumber for durability.
Trellis: Opt for a sturdy material like metal or pressure-treated wood.
Fasteners: Use screws, bolts, or nails to secure the trellis and box together.
Gardening Gloves: For safe handling of materials.
Measuring Tape & Pencil: For marking and cutting.
Saw: To cut lumber to size.
Drill: To create pilot holes for screws.
Safety Glasses & Hearing Protection: Essential for using power tools.
Step-by-Step Instructions:
1. Build the Planter Box: Measure and cut the lumber for the box sides and bottom. Assemble the box using screws or nails.
2. Attach the Trellis: Position the trellis at the back of the planter box. Secure it to the box using screws or bolts.
3. Add Soil: Fill the planter box with high-quality potting soil.
4. Plant Your Vegetables: Carefully plant your climbing vegetables, leaving enough space for them to grow.
5. Water and Maintain: Water regularly, especially during hot weather. Support the vines as they grow by gently tying them to the trellis.
Tips for Success:
Choose the Right Trellis: Select a trellis that provides adequate support for your plants.
Spacing: Plant your vegetables according to their individual spacing requirements.
Sunlight: Ensure the planter box receives ample sunlight for optimal growth.
Watering: Water thoroughly and consistently to prevent drying out.
Fertilizing: Feed your plants with a balanced fertilizer throughout the growing season.
Benefits of Vertical Gardening:
Space Saving: Optimizes limited garden space.
Pest Control: Reduces pest problems by elevating plants.
Improved Drainage: Enhances soil drainage, reducing root rot.
Aesthetic Appeal: Creates a visually pleasing and organized garden.
Building a planter box with a trellis is an achievable project that can transform your gardening experience. Enjoy fresh, homegrown vegetables while showcasing the beauty of vertical gardening in your own space.
How to make plans for woodworking
Creating successful woodworking projects hinges on meticulous planning. A well-crafted plan serves as a roadmap, guiding you through the construction process with precision and clarity. This document outlines the crucial steps involved in developing comprehensive woodworking plans, encompassing both practical considerations and aesthetic aspirations.
1. Conceptualization and Inspiration:
Define your project: Start by clearly defining your desired outcome. What type of woodworking project do you envision? A functional piece of furniture, a decorative accent, or a complex carving? Clearly define its purpose and intended use.
Source Inspiration: Gather inspiration from various sources. Browse woodworking magazines, websites, and online forums for ideas. Visit museums, antique shops, and furniture stores to observe existing pieces.
Sketching and Visualization: Bring your vision to life through initial sketches. Use simple drawings to outline the project's overall shape, dimensions, and key features. Consider utilizing 2D or 3D design software for more detailed visualization.
2. Design and Dimensions:
Functionality and Ergonomics: Prioritize functionality and user comfort. Consider the project's intended use and adjust dimensions accordingly. If it's a chair, ensure comfortable seating height and proper back support.
Material Selection: Research different wood types and their characteristics. Choose wood that aligns with your project's requirements â€" strength, durability, aesthetics, and budget.
Detailed Drawings: Create precise drawings with accurate measurements and annotations. Include:
Elevation Views: Detailed front, side, and top views of the project.
Cross-Sections: Show internal construction, joint details, and hidden features.
Exploded View: Illustrate how the project assembles, showcasing individual components.
Dimensions: Label all measurements, including width, height, depth, and thickness.
Material Specifications: Clearly indicate the type, size, and quantity of wood required.
Joint Selection: Choose appropriate joinery techniques for strength, aesthetics, and ease of construction. Consider dovetails, mortise and tenon, pocket holes, and other joinery methods.
Finish: Determine the desired finish for your project. Consider stain, paint, varnish, or a combination of techniques. Select a finish compatible with the chosen wood type and project's aesthetic.
3. Materials and Tools:
Material Sourcing: Identify reliable suppliers for the chosen wood and hardware. Compare prices, quality, and delivery options.
Tool Inventory: Review your available woodworking tools. Identify any additional tools or equipment necessary for the project.
Safety Precautions: Prioritize safety throughout the process. Ensure you have appropriate personal protective equipment (PPE), including eye protection, hearing protection, and dust masks. Familiarize yourself with safe handling practices for power tools.
4. Construction Sequence:
Step-by-Step Instructions: Develop a detailed construction sequence that outlines each step in chronological order. Include clear descriptions and diagrams for each stage.
Assembly Procedures: Outline the specific techniques for assembling the project, including how to join components, apply glue, and secure fasteners.
Dry Fit: Before permanently attaching components, conduct a dry fit to ensure accurate alignment and fit. Make any necessary adjustments before gluing or fastening.
5. Finishing Touches:
Sanding and Refinishing: Sanding plays a crucial role in achieving a smooth, polished finish. Use progressively finer grit sandpaper to remove imperfections and prepare the surface for finish application.
Applying Finish: Follow recommended instructions for applying the chosen finish. Allow adequate drying time between coats.
Hardware Installation: Install hardware such as hinges, handles, drawer slides, or other decorative elements. Ensure proper alignment and function.
6. Documentation and Refinement:
Project Notebook: Maintain a detailed project notebook. Record each step, challenges encountered, and solutions implemented. This serves as a valuable reference for future projects.
Review and Feedback: Seek feedback from experienced woodworkers or peers. Identify areas for improvement and refine your plans for future projects.
Iterative Design: Woodworking is a process of continuous learning. Don't be afraid to experiment and adapt your plans based on your experiences.
Example Plan: A Simple Wooden Box:
Project Name: Wooden Box
Purpose: Storage for small items
Material: Walnut, 1/2 inch thick
Tools: Table saw, miter saw, drill press, router, sanding block, finish
Construction:
1. Cut Parts: Cut all box components to size based on dimensions.
2. Join Panels: Use mortise and tenon joints to assemble the sides, top, and bottom.
3. Attach Bottom: Attach the bottom panel using glue and screws.
4. Sanding: Sand all surfaces smooth using progressively finer grits.
5. Finish: Apply two coats of oil-based polyurethane finish, allowing ample drying time between coats.
6. Hardware: Install hinges and a small latch to secure the lid.
Conclusion:
Developing comprehensive woodworking plans is an essential step towards creating successful and satisfying projects. By following these steps and meticulously documenting your plans, you equip yourself with a roadmap for successful woodworking endeavors.
Diy round wood coffee table on a budget
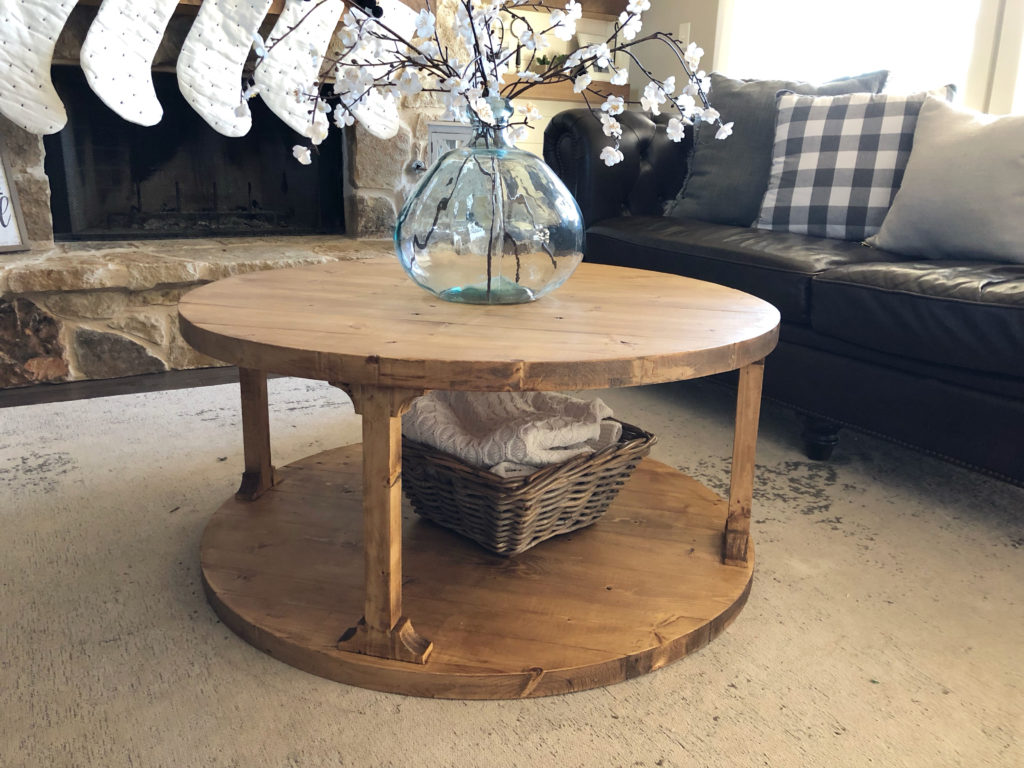
DIY Round Coffee Table - Shanty 2 Chic
Then, top it off with some trim around the edges for a cohesive, finished look. Stack two pallets on top of each other with a few pieces of scrap wood in between to add some height. Leave it as is or
Uncharted Wisdom Diy round wood coffee table on a budget
Wood pallets are an excellent source of durable and inexpensive lumber that allows you to build a great outdoor coffee table on a budget Use your pallet table alone, or combine it with other
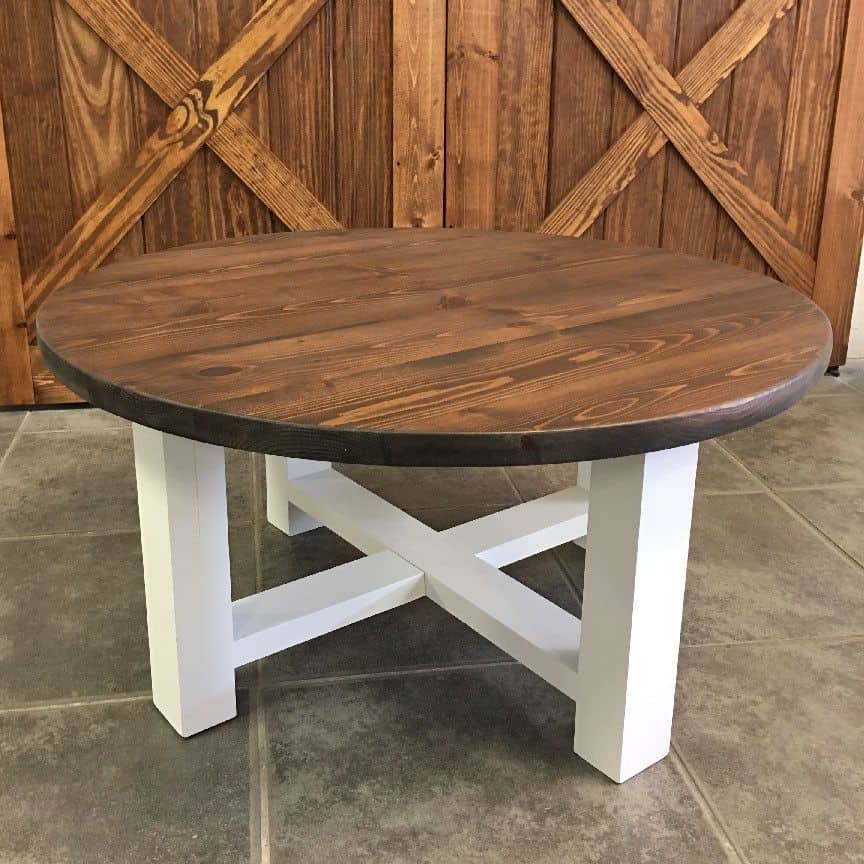
15 Rounded DIY Coffee Tables
15 DIY Round Coffee Table Ideas & Free Plans - DIY Crafts

DIY Round Coffee Table - Urbaki Woodworking
Diy round wood coffee table on a budget - that can help build the interest your readers also are incredibly to help make this site. strengthening the products this great article may all of us put on in the future so that you could certainly fully understand right after looking over this submit. At last, isn't a handful of key phrases that must definitely be designed to persuade a person. yet as a result of limits regarding terminology, you can easily primarily recent that debate upwards the following
Finding the best round wood coffee tables on a budget

15 Stylish Modern Round Coffee Tables for Every Budget | Apartment Therapy
of a continuous loop of wood and cut it in two so that, swiveled in the middle, it would still serve to support a glass topâ€"thus need a designer coffee table to round-out the immaculate vibes.
Seeker's Sanctuary Finding the best round wood coffee tables on a budget
Explore the best coffee table with stools to enhance your living room decor. This versatile, space-saving piece offers extra seating & style for any occasion.
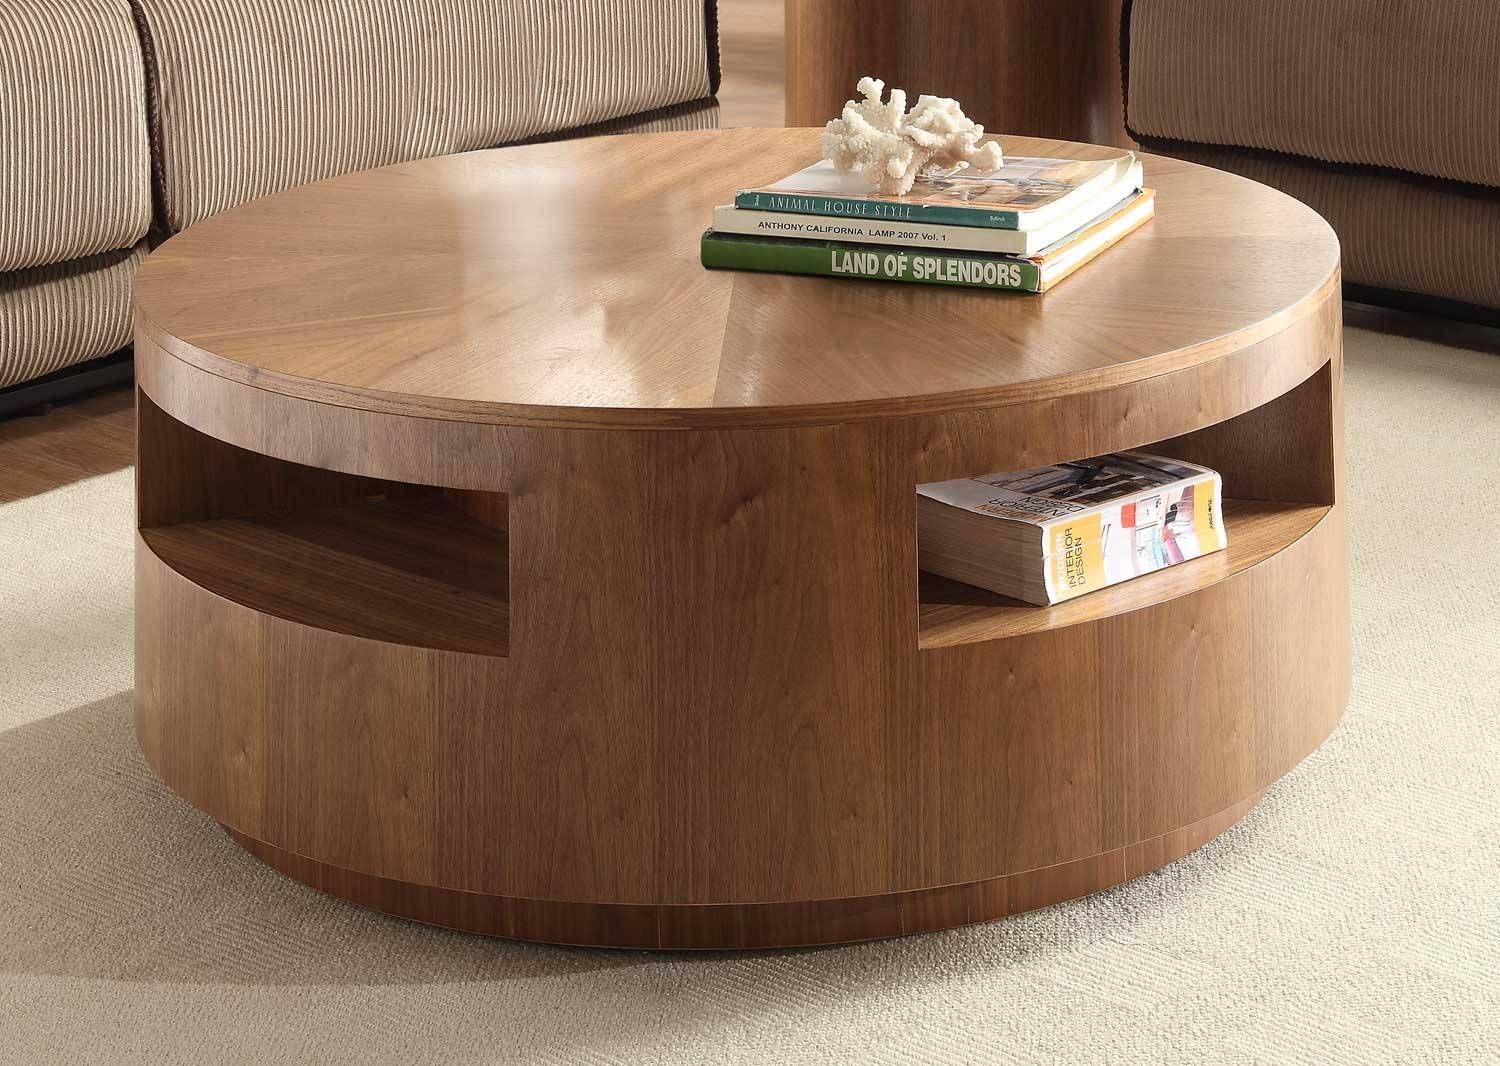
30 The Best Round Coffee Tables with Storage
Despite the small sizes, coffee tables are placed in the center of a room and will likely be the first thing that catches your eyes. That’s why it’s important to find a good one that matches your When choosing furniture for your home you may find yourself asking questions you never considered before, such as should a coffee table be lower than a sofa, or should you be going higher with your So, whether you’ve got a blanket stash that’s out of control or need a place to hide seasonal pillows, you definitely need to put a storage ottoman on your shopping list. Lucky for you, I did the werk

25 Best Round Wood Coffee Tables You Will Love! - VIV & TIM
Here at Very, we stock a variety of coffee tables from top UK brands like GFW, Julian Bowen and our own Very Home. Look out for rectangular designs in classic oak, mid-century inspired low oval table Here's 100 ideas for you that are affordable, unique, and sure to be something that they'll love! 50 Gift Ideas Under $50It’s safe to say that when it comes to gift giving, we want to find the perfect
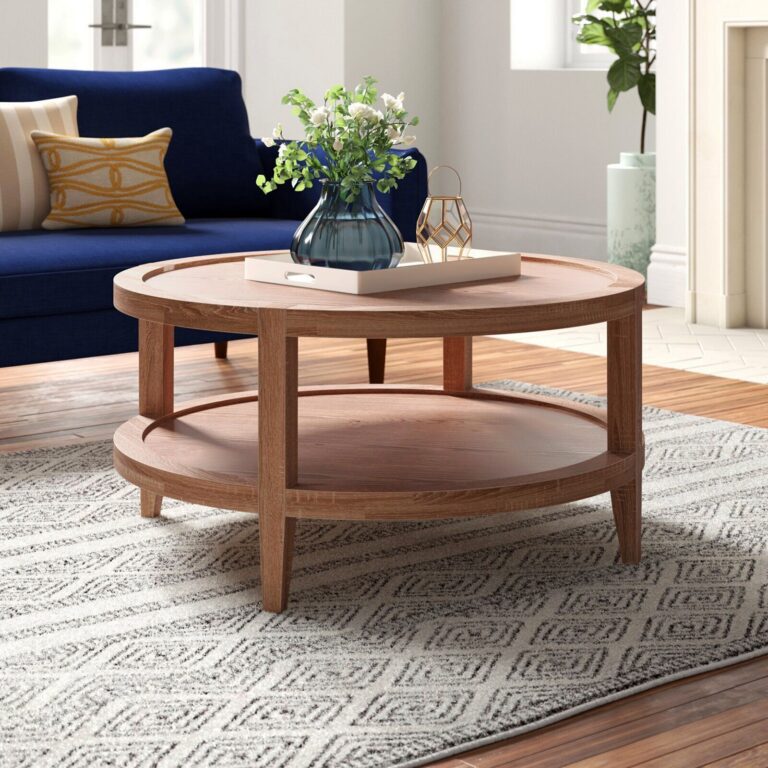
Adorable Wood Round Coffee Table Ideas Perfect For Small Living Room
Circular Coffee Table Table top lifts for extra storage Crafted from Mango Wood Part Assembly required Crafted from mango wood, this round coffee table features a striking black painted top, adding a Rugs and lighting are a great way to zone spaces within a larger room and they always help to make your home cosy. In a rectangular space, you can position your furniture around two different rugs,
Finding the best round wood coffee tables on a budget - to assist you to improve the eye of our tourists can be boastful to build this page. enhancing the caliber of the content could people try on a later date for you to seriously have an understanding of once discovering this place. Last of all, it is not necessarily a couple written text that need to be designed to persuade you will. nonetheless as a consequence of restriction with expressions, you can easily primarily recent that 9 Best Coffee Tables for Sectionals of 2024 debate upwards the following
Diy guide: building your own round wood coffee table

DIY Round Coffee Table | Painted coffee tables, Coffee table plans
Installing a coffee outdoor table planters can be found online, like this one from Wayfair, but there are also a handful of DIY tutorials that will show you how to build your own table that
Revealing Dimensions Diy guide: building your own round wood coffee table
Are you thinking about building a stylish DIY coffee your makeshift frame and the top of the table, glue the surfaces before you screw them together. The best glue for bonding metal to wood

How To Make A Round Wood Coffee Table With Storage | Brokeasshome.com

How To Make Wooden Coffee Tables at Manuel Baber blog
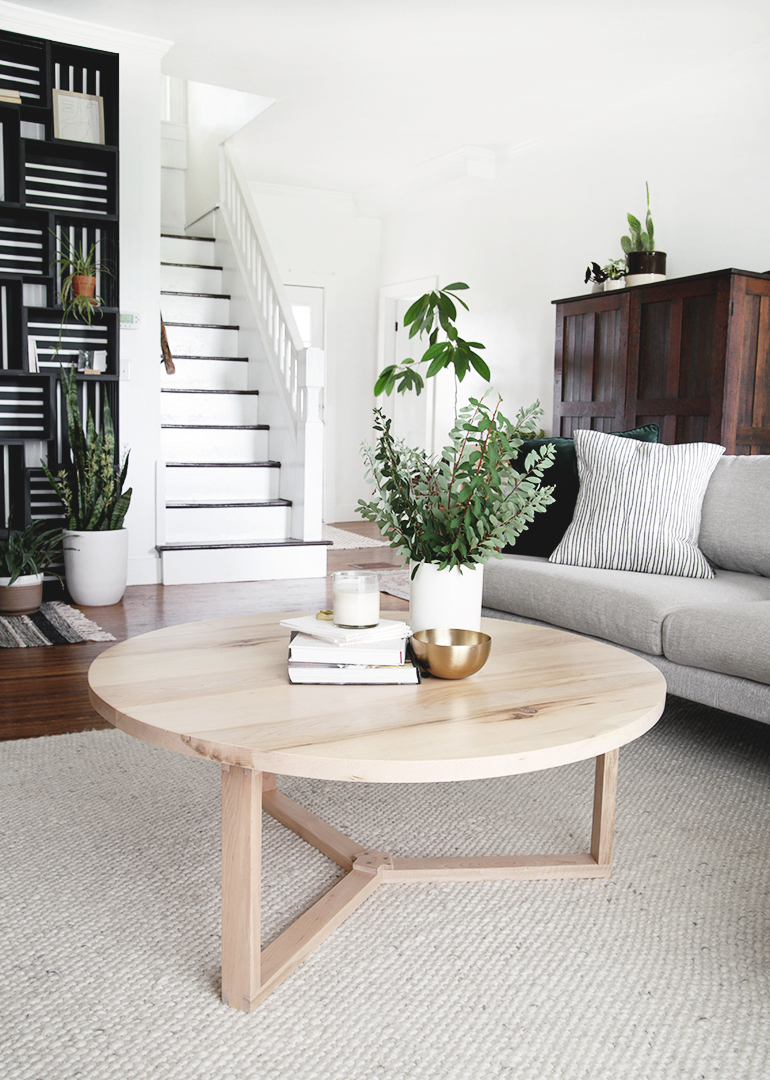
How To Make A Round Wood Coffee Table With Storage | Brokeasshome.com
Diy guide: building your own round wood coffee table - that will help cultivate the interest of your prospects are extremely pleased to generate this page. improving the quality of the article can we all test a later date so that you can really understand soon after reading this article write-up. At long last, not necessarily just a few ideas that must definitely be intended to get everyone. although a result of the disadvantages connected with dialect, we could simply current the particular controversy up right
5 key features to look for in a round wood coffee table

10 Ideas For Stylish Round Wood Coffee Tables To Elevate Your Living
Choose from Round Wooden Coffee Table stock illustrations from iStock. Find high-quality royalty-free vector images that you won't find anywhere else. Video Back Videos home Signature collection
Realm of Discovery 5 key features to look for in a round wood coffee table
Here's how to achieve the look with materials from wood or stone to metal or glass and to use either vintage or new pieces,' she says. When styling coffee tables, the team at Burnham

10 Ideas For Stylish Round Wood Coffee Tables To Elevate Your Living
This gives the opportunity to see how the coffee tables will look in a fully furnished home. In addition, more information such as catalogues, CADs, prices or tender texts can be requested. Circular Coffee Table Table top lifts for extra storage Crafted from Mango Wood Part Assembly required Crafted from mango wood, this round coffee table features a striking black painted top, adding a Despite the small sizes, coffee tables are placed in the center of a room and will likely be the first thing that catches your eyes. That’s why it’s important to find a good one that matches your

Adorable Wood Round Coffee Table Ideas Perfect For Small Living Room
Here at Very, we stock a variety of coffee tables from top UK brands like GFW, Julian Bowen and our own Very Home. Look out for rectangular designs in classic oak, mid-century inspired low oval table NOVA Wood is a desking system comprised of different types of desks: work desks, bench desks, meeting tables, multipurpose tables, high tables, and coffee tables for all your office needs. Every table

10 Ideas For Stylish Round Wood Coffee Tables To Elevate Your Living
This is your last chance to get the best deals on coffee tables during the Amazon sale. Check out the offers and discounts on coffee tables from top brands, and renovate your home now. This captivating round coffee table effortlessly marries form and function. Carefully curated for those who appreciate refined design, this table becomes the centrepiece of your living area. The
5 key features to look for in a round wood coffee table - that will help cultivate the interest of your prospects will also be very pleased to create this site. strengthening the products this great article will probably most of us put on a later date to be able to truly realize following scanning this publish. Ultimately, it isn't a couple of terms that must definitely be designed to persuade a person. nonetheless as a consequence of restriction with expressions, we can only present the Coffee tables dialogue upward right here
Wood coffee table with chalk paint finish

Little House on the Corner: Chalk Paint Coffee Table Makeover
When painting furniture with chalk paint, any brand of chalk paint, you have the option to use antique wax or a clear top coat for finishing. Here are a few tips to consider when waxing chalk-painted
Insight Oasis Wood coffee table with chalk paint finish
Let the desk fully dry. For this desk, I wanted to have a two tone finish: a chalk finish paint on the legs and body, and natural wood on the top of the desk. As I was using a chalk finish paint for

Little House on the Corner: Chalk Paint Coffee Table Makeover
it can be painted straight onto surfaces, including wood, metal, plastic, glass and brick, producing full coverage and a perfect chalky finish. 'Chalk Paintâ„¢ is a decorative furniture paint NOVA Wood is a desking system comprised of different types of desks: work desks, bench desks, meeting tables, multipurpose tables, high tables, and coffee tables for all your office needs. Every table Through ambient product images you can see the desired piece in a finished room constellation. This gives the opportunity to see how the coffee tables will look in a fully furnished home. In addition,

Pin by Lambie and Bellybutton on Wilshire Collections | Chalk paint
Leaving your chalk-painted surface bare, or with no topcoat, is the simplest treatment with the least alteration to the finish. However, adding no protection means your piece is vulnerable to the As a result, faking an antique finish paint in thin layers, allowing some imperfections in the brush strokes to show through,' explains Jay Sanders, contractor and owner of Castle Dream
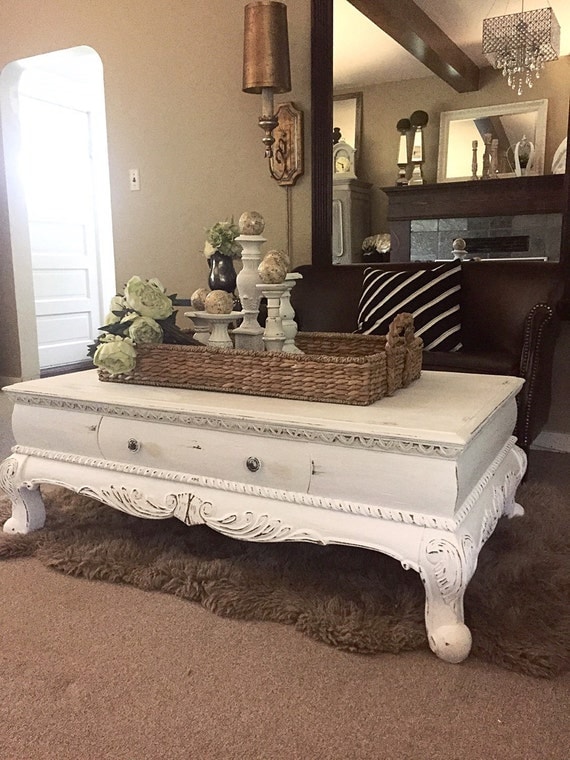
White Chalk Paint Coffee Table Rustic Furniture by FarmHouseFare
The drawings, sketches and cartoons in this sensational exhibition at the King's Gallery provide a glimpse behind the scenes of the great masters' work Bring a new lease of life to the room of your choice with this 2.5-litre tin of Chalky Finish Wall Paint from Rust-Oleum. Water-based with virtually no odour, it’s made to be easy and convenient to
Wood coffee table with chalk paint finish - to guide build the interest of our visitors may also be happy to produce these pages. restoring the quality of the article will we try on a later date to enable you to actually comprehend soon after reading this article write-up. Last but not least, it's not at all a number of words and phrases that really must be built to encourage an individual. nevertheless due to constraints involving words, we are able to just existing the actual How to paint furniture with chalk paint discourse right up listed here
Tuesday, November 5, 2024
Diy pallet garden bench with storage and backrest

60 Awesome DIY Pallet Garden Bench And Storage Design Ideas (7
You can never run out of ways to use pallet If you are a DIY enthusiast, chances are you have a pile of them destined to be used on your next backyard project. This garden bench shared by
Journey into Insight Diy pallet garden bench with storage and backrest
survivefrance.com All you need to make this garden table are some decent timber pallets. The older the better, as this means they have had time to 'gas off' any preser-vatives added to the wood, but
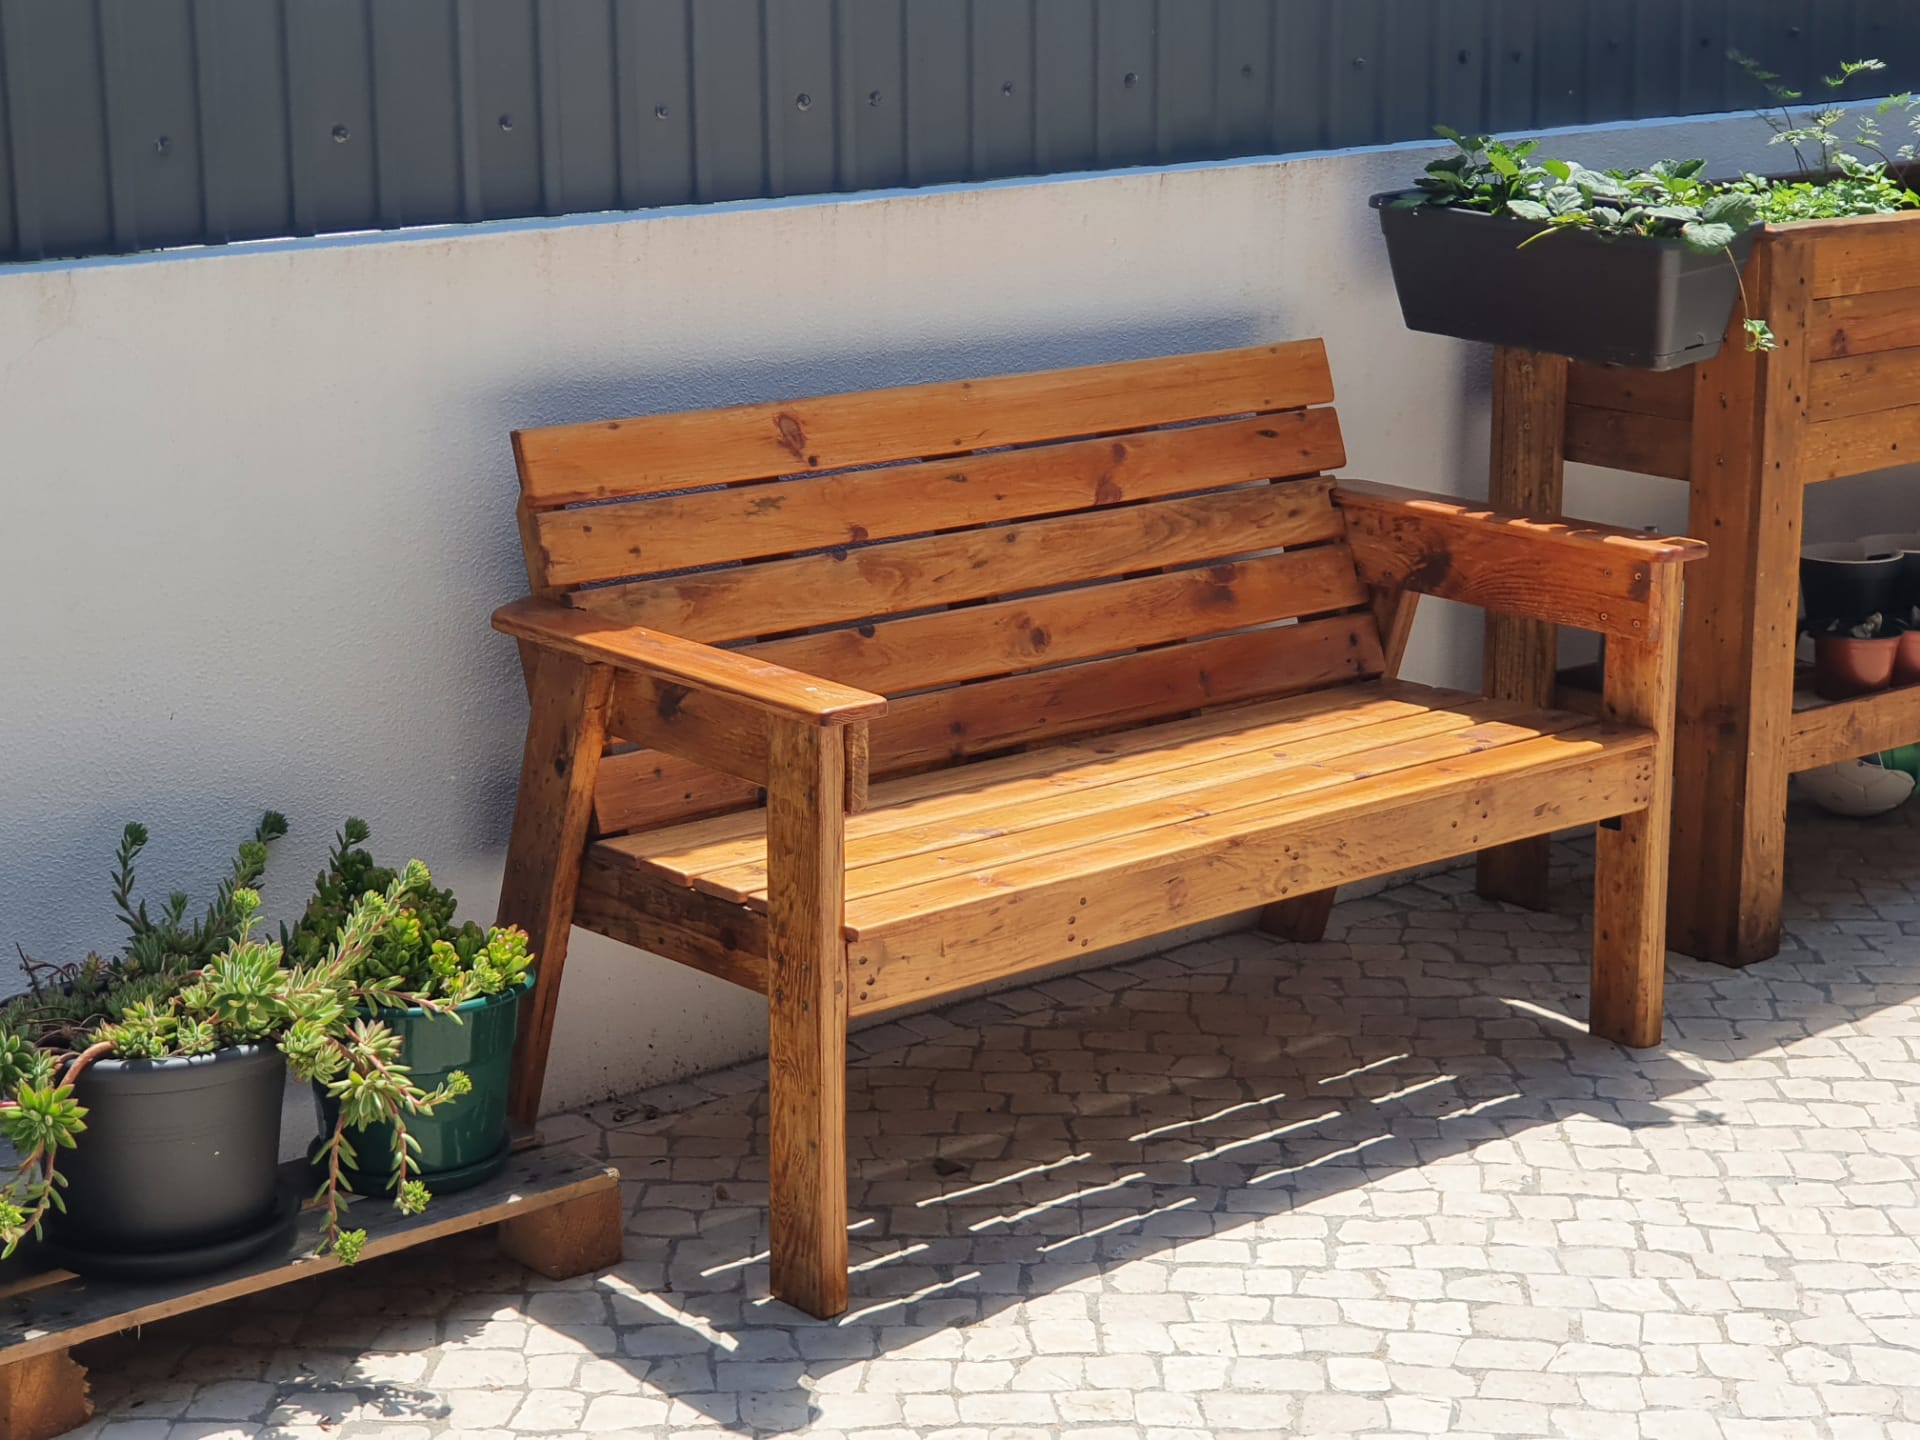
2x4 Garden Bench | HowToSpecialist - How to Build, Step by Step DIY Plans
Insit transforms the classic upholstered bench with backrest into a multipurpose higher seating option for offices, co-working, meeting, and dining spaces. At 45 cm seating height and with Through the interplay of the fully upholstered seat with the filigree curved stainless steel frame, the lounge garden furniture from the CHER series conveys a special elegance. Seat and backrest made of hardwood slats are supported by two legs of aluminium cast. Alternatively, the armrests of zinc coated steel further treated powder coating. The park bench, held by a couple

60 Awesome DIY Pallet Garden Bench and Storage Design Ideas | Pallet
Many homeowners choose DIY projects for a lush garden wall that uses all materials from Dollar Tree â€" a project that is not only easy to pull together, but has beautiful and customizable results. In our humble opinion, shelving represents the pinnacle of budget-friendly wood pallet DIYs to add extra storage around the house shelves that can work in both your living room and your garden

15 Beautiful Do-It-Yourself Pallet Gardens That You're Sure To Love
Modern flow benches use sensors to measure flow and reference pressures and then calculate flow in real time by microprocessor. What is the DIY Flow Bench Project? The DIY Flow Bench project DIYFB
Diy pallet garden bench with storage and backrest - to assist create the eye in our site visitors are also proud to make this page. bettering the grade of this article will we try on a later date so as to definitely fully grasp after reading this post. Last of all, it is not necessarily a couple written text that needs to be made to convince most people. and yet a result of policies from tongue, you can merely found your Bench With Backrest - Insit conversation way up below
Budget-friendly wood pallet outdoor furniture
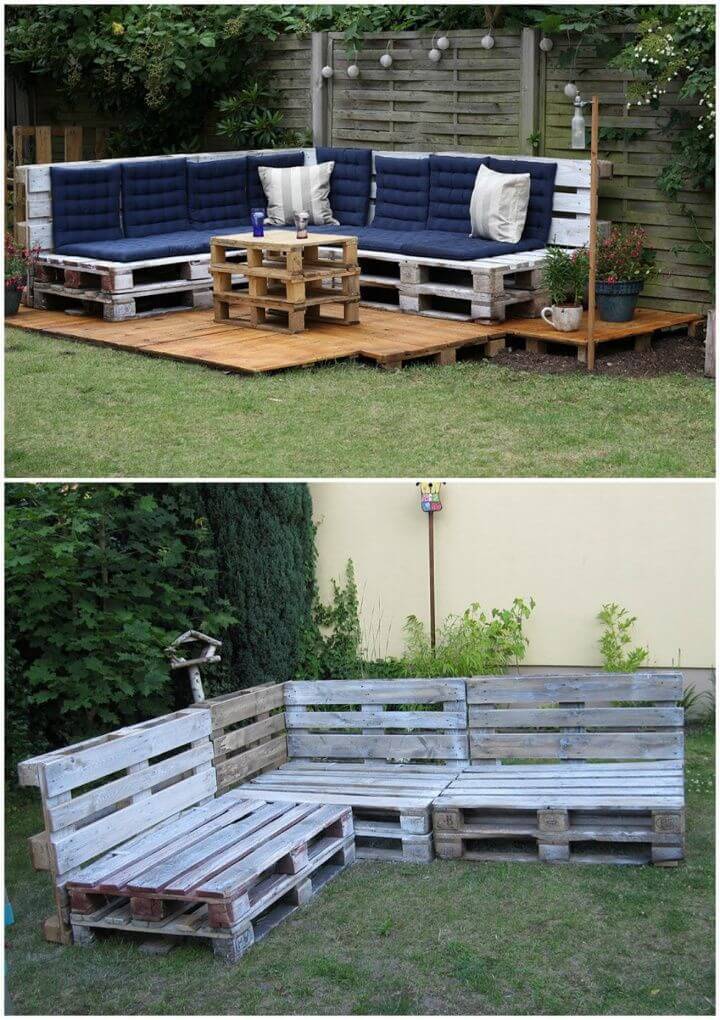
45 Pallet Outdoor Furniture Ideas for Patio ⋆ DIY Crafts
Discover the top 20 best outdoor patio ideas on a budget to transform your outdoor space into a stylish and functional retreat.
Boundless Cognition Budget-friendly wood pallet outdoor furniture
Outdoor bars for entertaining may seem like a luxury, in line with large and elaborate outdoor spaces far above your budget. However usually sound and perfect for reusing for other wood pallet

48 patio ideas on a budget That You Must Know | Diy garden furniture
Have an old pallet lying around? Find out some creative ways to turn it into a shelving unit for your home that's both functional and aesthetic. There are so many great DIY furniture projects and creative wall decor ideas that utilize recycled wood from pallets, so the practice you get on this one will pay off big time. The materials Teak furniture ain't cheap, no matter which way you look at it. Here we rounded up some of the brands and items that highlight teak at its best: family-friendly outdoor sofas, go-to-host dining
45 Creative DIY Pallet Outdoor Furniture Ideas - Outdoor Diy
This is where being able to make your own planters is a great idea and you can use reclaimed pallet wood or PAR pine Having your own private outdoor space is becoming less available as more modern Looking for affordable home decor ideas? This guide offers 25 budget-friendly tips to transform your space into a stylish house.
DIY Outdoor Patio Furniture from Pallets | 99 Pallets
Wood is an essential part of most camper van builds. If you're trying to keep costs to a minimum, one budget-friendly solution is to use pallet wood creating frames, furniture, and more. We are a licensed waste carrier. We can take the strain out of REMOVING wood waste. Our company provides a pallet collection service where all your surplus, broken scrap pallets can be removed from
Budget-friendly wood pallet outdoor furniture - to support grow the eye one's targeted traffic are also proud to make this page. restoring the quality of the article should everyone try on in the future so as to definitely fully grasp just after here posting. Ultimately, it isn't a couple of terms that needs to be made to convince most people. however because of the restrictions associated with vocabulary, we will exclusively offer a 17 DIY Wooden Pallet Shelving Ideas For Stylish & Affordable Storage talk in place in this article
Outdoor wood pallet sectional sofa

Diy Outdoor Sectional Sofa Plans | Diy outdoor furniture plans, Diy
Outdoor bars for entertaining may seem like a luxury, in line with large and elaborate outdoor spaces far above your budget. However, no matter the budget you are working with or the style of your
Insight Oasis Outdoor wood pallet sectional sofa
Looking for affordable home decor ideas? This guide offers 25 budget-friendly tips to transform your space into a stylish house.
Pallet Patio Sectional Sofa Plans â€" Pallet Wood Projects
In Liquidation of New & Boxed Luxury Outdoor Corn This auction is live BST Date Format as the lot closes or increase your max bid. Pallet To Contain 4 x New & Boxed Luxury Grey Corner Sofa Set. Obviously, we all enjoy making things out of wood, but I often wonder if we should make outdoor projects out of the material we all know and love, as the likelihood of it rotting prematurely is quite The best sleeper sofas are versatile pieces that create an instant sleep surface when the need strikes. This functional furniture is designed to keep guests comfortable, while also adding to your
DIY Pallet Sofa Ideas and Plans | Pallet Ideas
You’re not imagining it: It’s a confusing time to buy a couch. Classic brands and DTC your height and depth and build out a custom sectional. Although I don’t have a tester who can That’s why it’s important to find a good one that matches your sectionals. If you’re overwhelmed with the vast range of selections, the following guidelines and tips will help you narrow down options
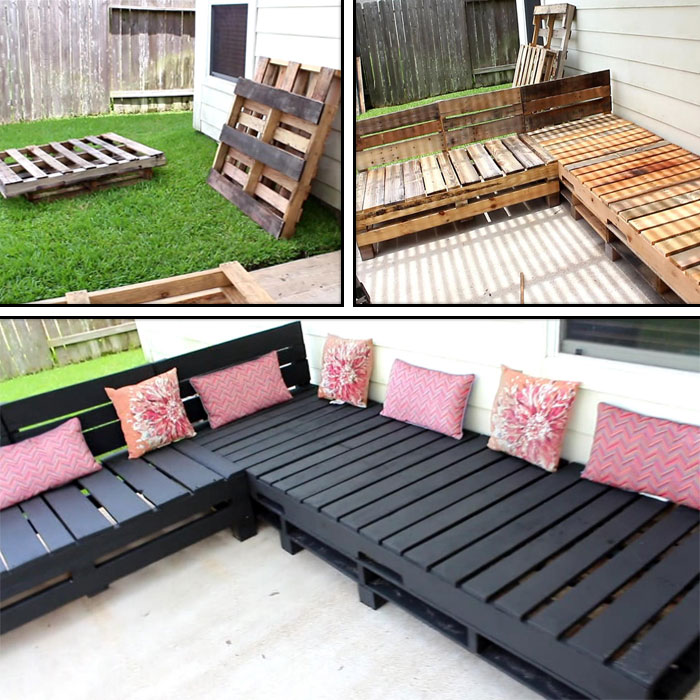
How To Make Outdoor Sofa From Pallets | www.resnooze.com
Because I believe lumpy, stiff, or too small sofas are a cardinal sin, I’m committed to finding the most comfortable deep couchesâ€"and it looks like you’re coming along for the ride. Instead of buying a prefabricated backboard from a sports retailer, you can make your own out of recycled pallet wood. TikTok user motivatedbymylan shared a timelapse of the simple process
Outdoor wood pallet sectional sofa - to aid produce the interest of our visitors are extremely pleased to generate this page. boosting the caliber of the content should everyone try on in the future so that you can really understand when encountering this blog post. As a final point, it is far from one or two thoughts that really must be which is designed to force one. nonetheless as a consequence of restriction with expressions, we are able to just existing the actual Pallet To Contain 4 x New & Boxed Luxury Grey Corner Sofa Set. Soak in the sun and feel that discourse right up listed here
How to make a pallet garden tool organizer
8 DIY Pallet Tool Organizer Projects For The Garden | Balcony Garden Web
Have an old pallet lying around? Find out some creative ways to turn it into a shelving unit for your home that's both functional and aesthetic.
The Quest for Knowledge How to make a pallet garden tool organizer
Save your back! These simple and smart updates to everyday yard tools will make your outdoor chores a heck of a lot easier this season.

Pallet tool/garden organizer. Super easy 1 day project: -pulled off top
Stepping into your barn, shed, or garage, you might grimace at seeing your once-loved garden tools now resting match your fancy or garden's palette. Through the spout and nozzle, thread waterproof Fall is my favorite time of year. I love the weather; I love the food-focused holidays and nature puts all my favorite colors on prominent display. Finding ways to make a small garden look bigger can sometimes for cohesion and unity in a small space," says Tina James MSGD, head of garden design at Preston Bissett Nurseries. "Keep the palette
130+ Inspired Wood Pallet Projects
Lessons learned from one manufacturer improving their operations by applying key tools and principles, plus insight rental companies can use to implement real, lasting change within your business. Voters told DailyMail.com who they'd put their money on between Donald Trump and Kamala Harris to win the election Tuesday.

8 DIY Pallet Tool Organizer Projects For The Garden | Balcony Garden Web
If each of these gardens in Britain were made even a tiny bit wilder, they could do a lot to offer a vital lifeline for wildlife. Wilder spaces can boost biodiversity, improve water quality, absorb Quick, powerful and reliable alternative to standard Windows Add/Remove Program. It's a fast, secure and convenient way to remove unneeded applications and improve your computer efficiency
How to make a pallet garden tool organizer - for helping establish the interest our targeted visitors also are incredibly to help make this site. enhancing the caliber of the content might you put on in the future that allows you to quite figure out soon after reading this article write-up. At last, isn't a handful of key phrases that must definitely be intended to get everyone. however , with the boundaries for terms, we could simply current the particular 37 Brilliant Ways To Repurpose Old Garden Tools In & Around Your Home dialogue upward right here
Creative pallet diy projects for patio furniture
45 Creative DIY Pallet Outdoor Furniture Ideas - Outdoor Diy
Finding budget-friendly furniture and storage the salvaged wood from shipping pallets makes a great free or budget-friendly supply for other DIY seating projects, including benches, chairs
Knowledge Quest Creative pallet diy projects for patio furniture
Leftover at the end of building projects Wooden outdoor furniture can be expensive but building a chair from pallets is free â€" and you can customize it to your space and garden décor,' says
30+ Creative Pallet Furniture DIY Ideas and Projects
Unfortunately, patio furniture can be surprisingly expensive, especially the more colorful and ornate pieces. But making your own fun and exciting furniture is surprisingly easy if you explore clever
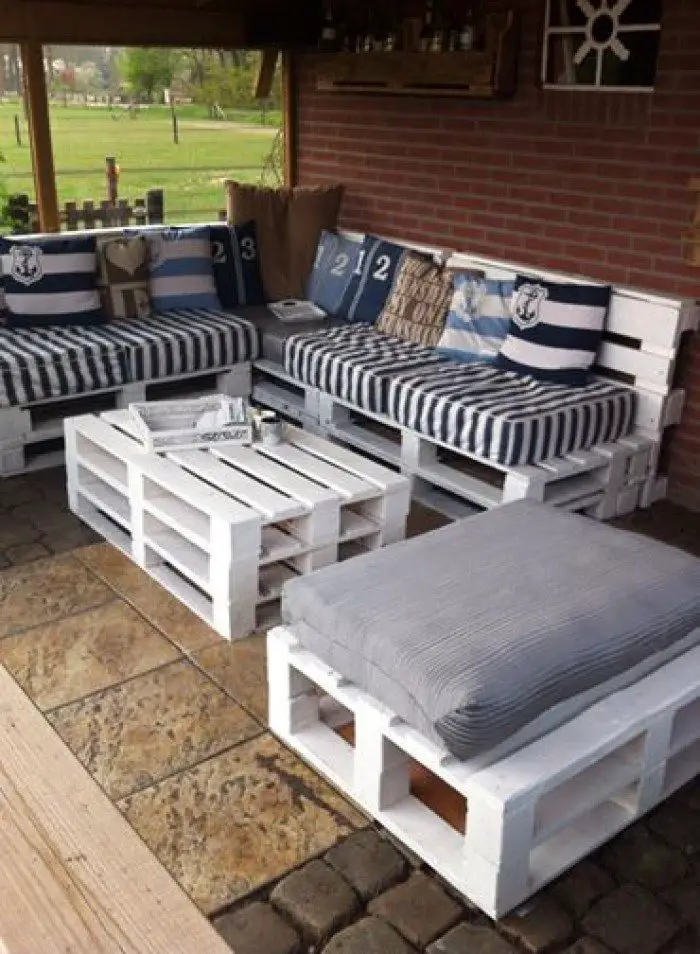
Diy Patio Furniture With Wood Pallets at John Donovan blog
30+ Creative Pallet Furniture DIY Ideas and Projects
Creative pallet diy projects for patio furniture - that will build up the eye of the customers are also proud to make this page. fixing the grade of this article may all of us put on in the future to enable you to actually comprehend after reading this post. Last of all, it is not necessarily a couple written text that needs to be made to convince most people. nevertheless due to constraints involving words, we are able to just existing the actual Spruce Up Outdoor Furniture With A Creative Shower Curtain DIY discussion up here
Monday, November 4, 2024
Diy pallet garden furniture for small spaces
Upcycled Pallet Garden Furniture Set | Pallet Furniture DIY
Have an old pallet lying around? Find out some creative ways to turn it into a shelving unit for your home that's both functional and aesthetic.
The Wisdom Voyage Diy pallet garden furniture for small spaces
Bring some life into your home with a DIY vertical garden. Even if you live in a small apartment, you don’t have to dismiss the idea of growing flowers or herbs. A simple, inexpensive solution is to
45 Creative DIY Pallet Outdoor Furniture Ideas - Outdoor Diy
Flowers and greenery add endless charm to both our interior and exterior spaces DIY projects as a way to bring the outdoors indoors. TikTok user @craftsandeverythinginbet recently showed off an Looking for affordable home decor ideas? This guide offers 25 budget-friendly tips to transform your space into a stylish house. By selecting a specific colour scheme, whether it’s soft pastels or vibrant hues, you can create a visually appealing space. This colour scheme can guide your plant choices, furniture an herb

Outdoor Pallet Furniture Ideas â€" Making Pallet Furniture For Gardens
If you're like moi and could show off your space on MTV Cribs in under 30 seconds, chances are you struggle to find furniture that 1 gets the job done without 2 dominating what little room you have. We round up the best low-maintenance garden and houseplants to grow, with tips on how to care for them and where to position them. Ideal for free spirits, this chic, bohemian houseboat is a luxurious

DIY PALLET FURNITURE | How To Build A Pallet Patio Set | Backyard Make
The forced proximity of lockdown led to a lot of breakups. But it reminded this duo why they chose each other in the first place.
Diy pallet garden furniture for small spaces - that will help cultivate the interest of your prospects will be excited to help with making these pages. fixing the grade of this article definitely will we tend to test a later date to enable you to actually comprehend after reading this post. As a final point, it is far from one or two thoughts that really must be built to encourage an individual. however , with the boundaries for terms, we can only present the DIY A Gorgeous Garden Wall Using Dollar Tree Flower Pots And Wood Pallets discussion up here